Attaching EFS to EC2 Instance

If not for my lecturer (Bunmi Agbomeji), I would have titled this post “Sudo dealt with me”
Can you imagine! Not putting sudo before my mkdir command got me stuck for one whole week!!
The task is to configure Amazon Elastic File System (EFS) to allow two instances to read and write to the same file system.
Lets get to it.
Using AWS, we will create an EFS file system, we then launch an EC2 instance and install the Amazon EFS utilities on our instance. We will go ahead and mount the File system by creating a new directory on our EC2 instance, mount the EFS file system to our new directory and create a file.
Search for EFS in the search bar
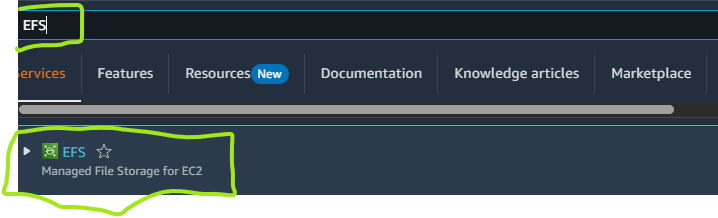
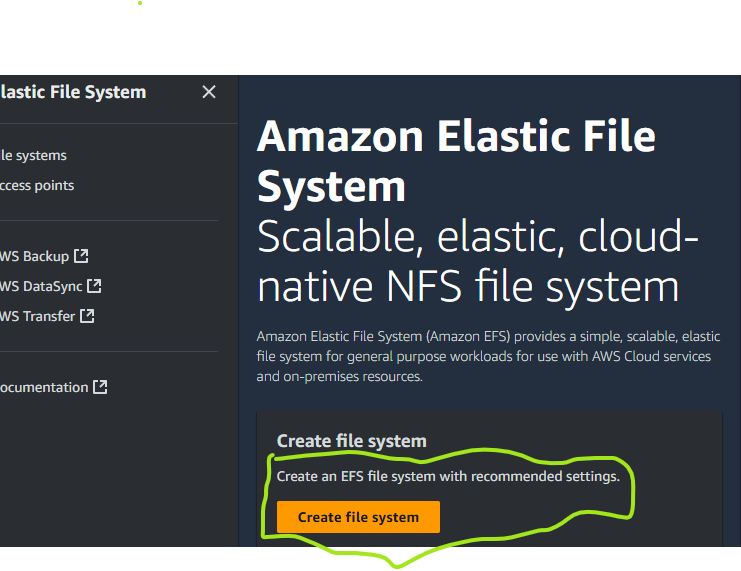
Click on the EFS and go to create file.
Giving your file name is optional but i will advise you give it a name. Mine is named Irede File. And we go with default VPC so we can connect to our file system though it.
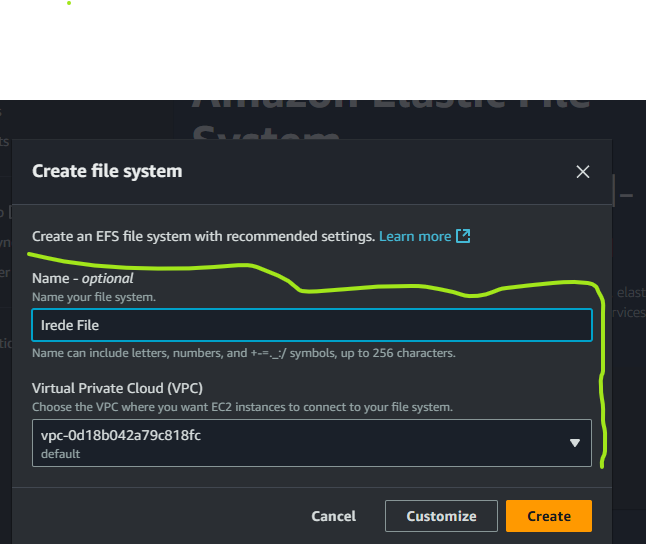
If you click on customize, you will see the different options of where to store your file either regional or in a zone, reading through it, you will likely want to go with the region.
You also see different lifecycle management. Do read through to make informed decision.
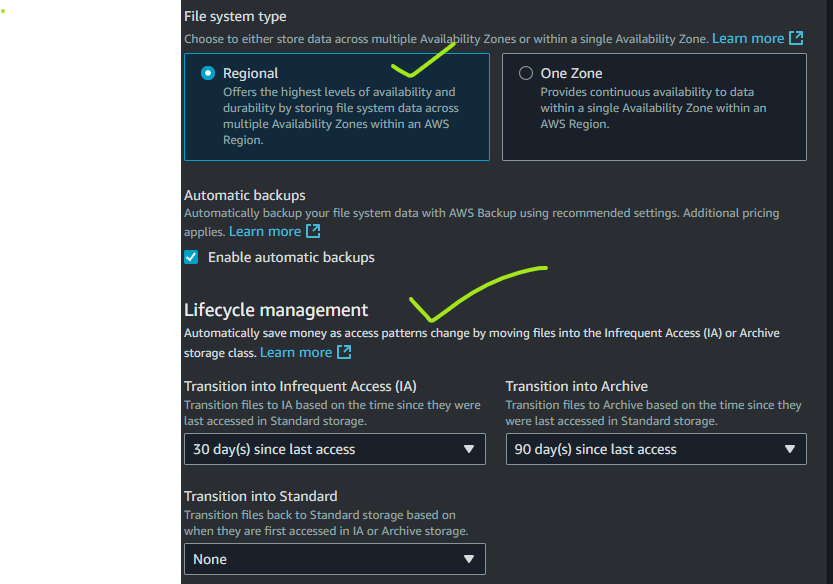
Encryption is checked. If you customize encryption setting, you will need to create an AWS KMS key.
Performance setting, read though also to select but i will leave it at enhanced.
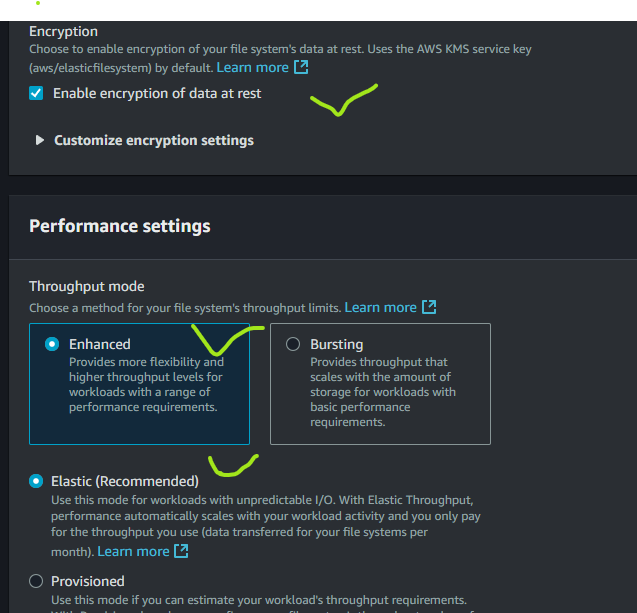
Move to next.
Depending on the region that you are there are different availability zones. Mine is in EU-North-1a to 1c meaning there are 3 availability zones in the region.
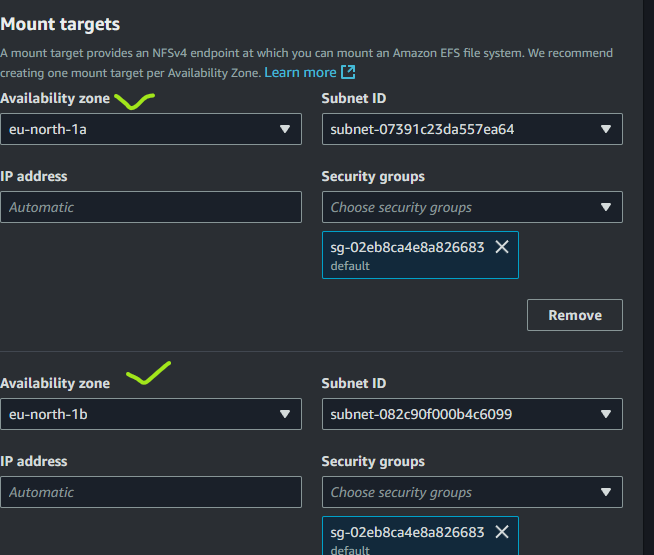
There are also different security groups.
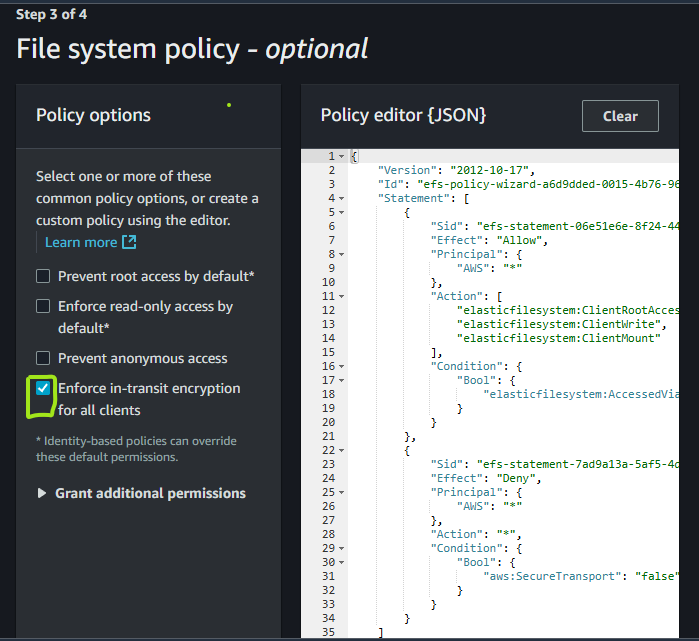
Go to next and check enforce in-transit encryption for all clients.
After clicking on next, you get a summary of your EFS file as you scroll down.
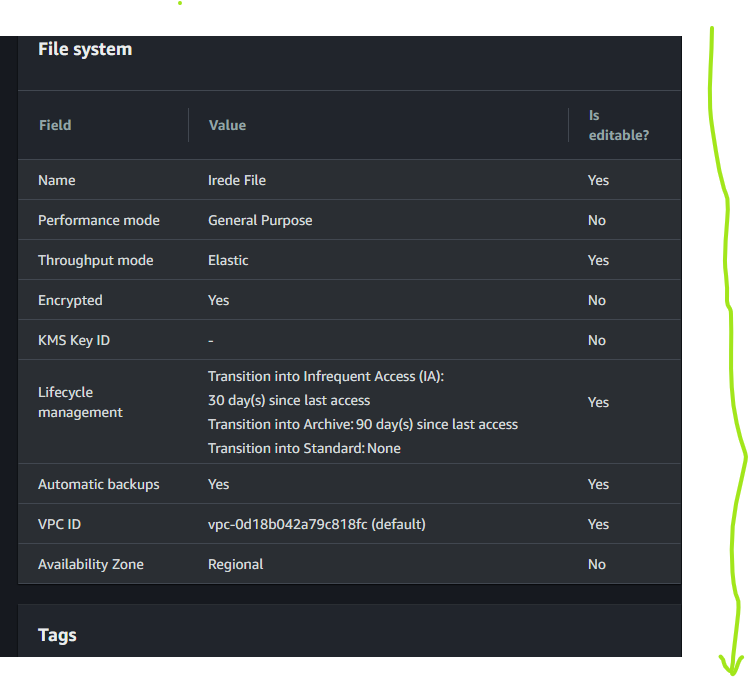
You click on create. This will show up once you have been able to create.
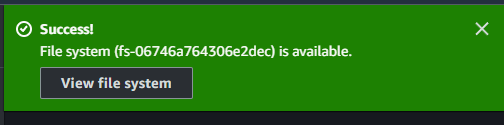
We have created our EFS, we now need to mount it on a virtual machine. So we will go ahead and create our EC2 instance.
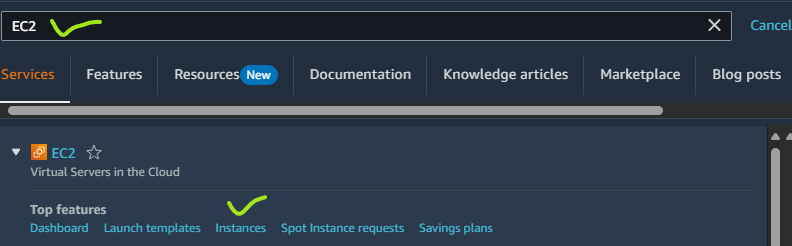
Still using the search bar, type in EC2 and navigate to instances.
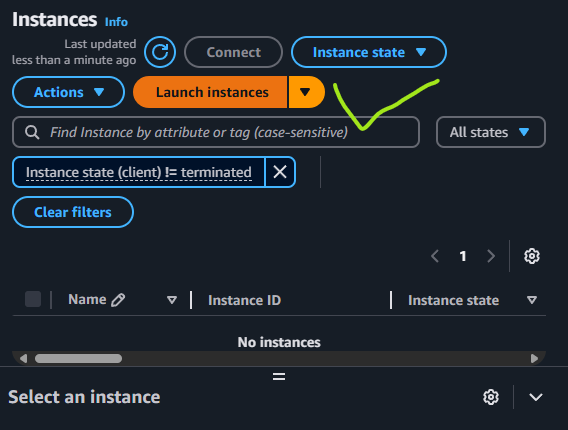
Once there, click on launch instances
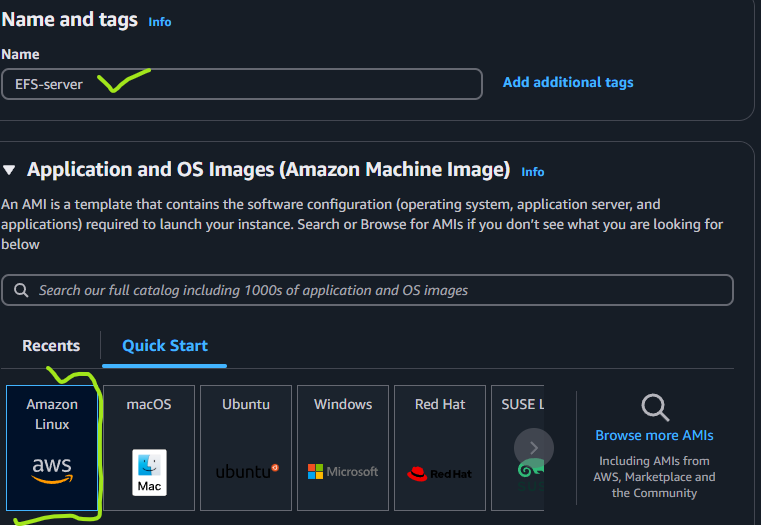
I named it EFS-server and chose the default Amazon linux.
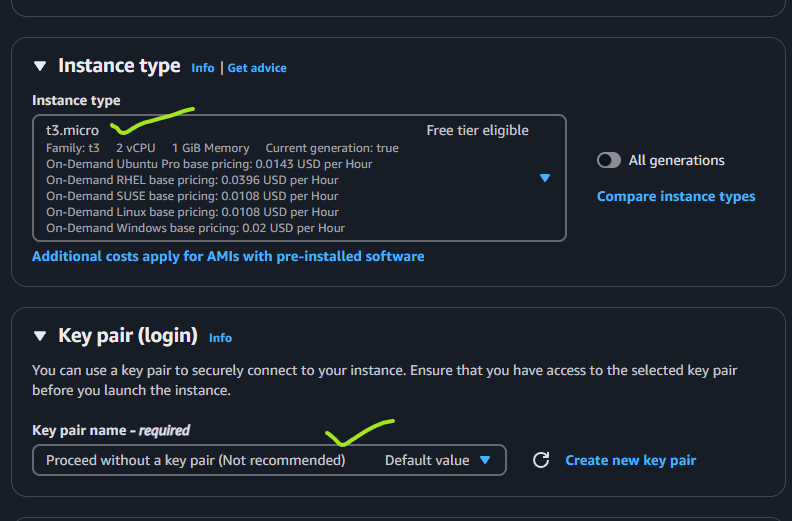
The instance type I chose is T3.micro which has bigger CPU than T.2 and i proceeded without a key pair (you click on the drop down arrow).
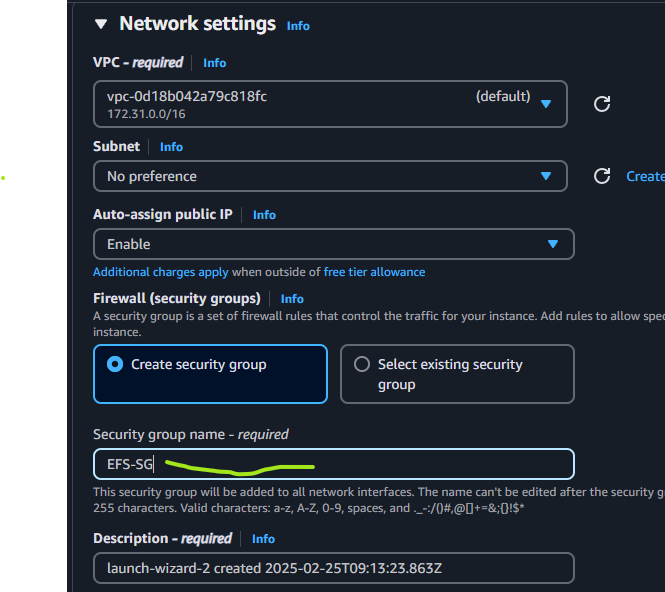
Next move to network setting and click edit.
You then create a security group. Change the default name to any name of your choice. Mine is EFS-SG.
After this, scroll down and launch your instance.
The instance refused to launch, because i already had a EFS-SG existing, so i changed it to EFS wizard.
Then it launched.
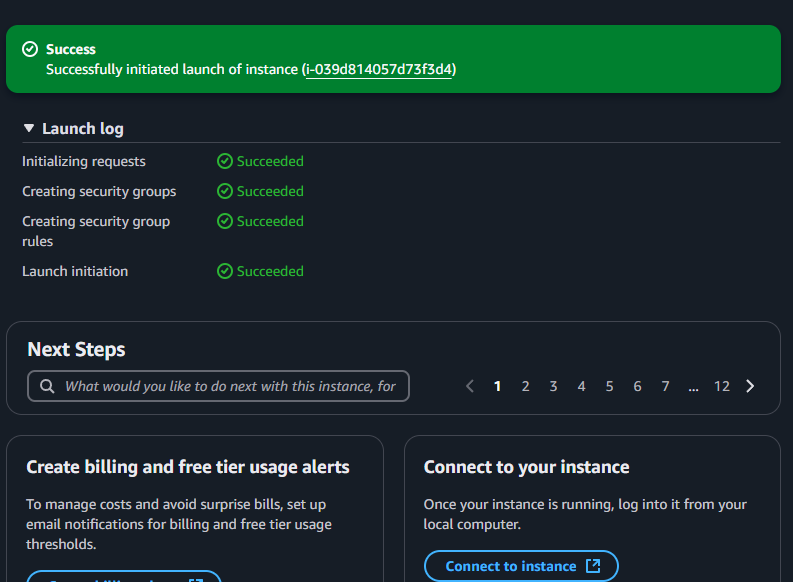
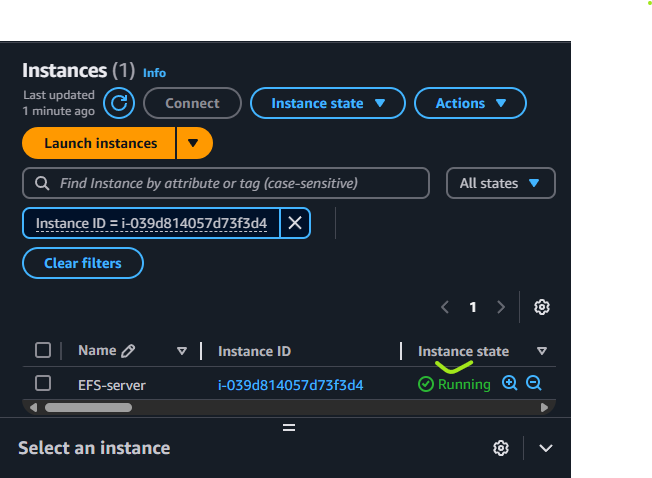
Click on the instance number. Your instance should be running by now.
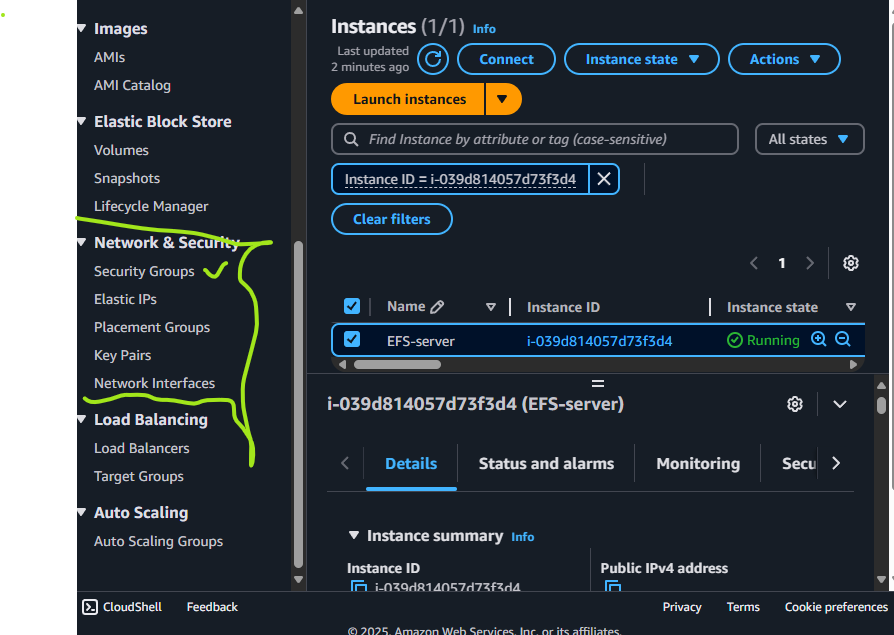
On the left pane with different drop downs, go to network & security and chose Security Groups
You can see the security group that did not allow my instance to launch the other time, i will delete it soon. You can also see the newly created one (EFS Wizard).
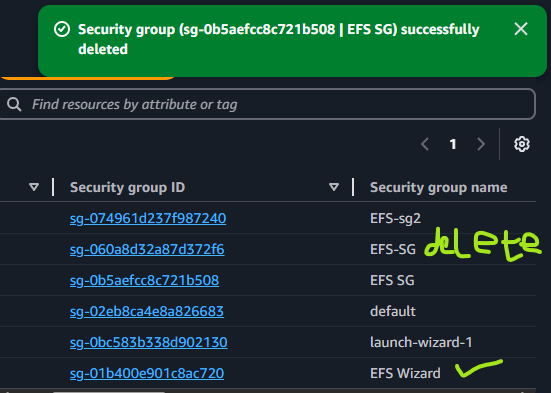
Click on the default one, and edit inbound rule, then add rule.
Change type to NFS, then in source, scroll to your newly created security group and add it.
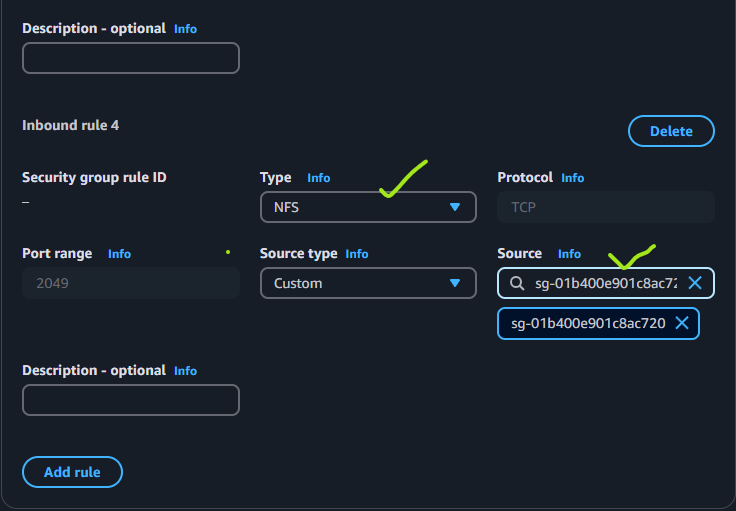
Then click save rules.
This will pop up if it is successful.
Navigate back to the left pane and click on instances. Check the server you created. Once checked you will see that the connect button is activated.
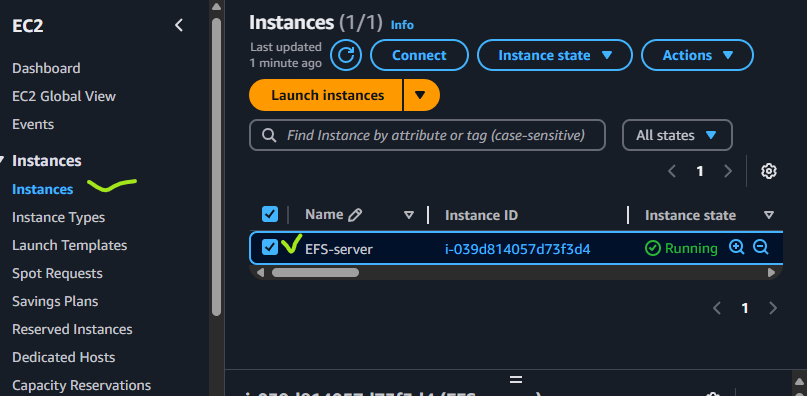
Then click on connect.
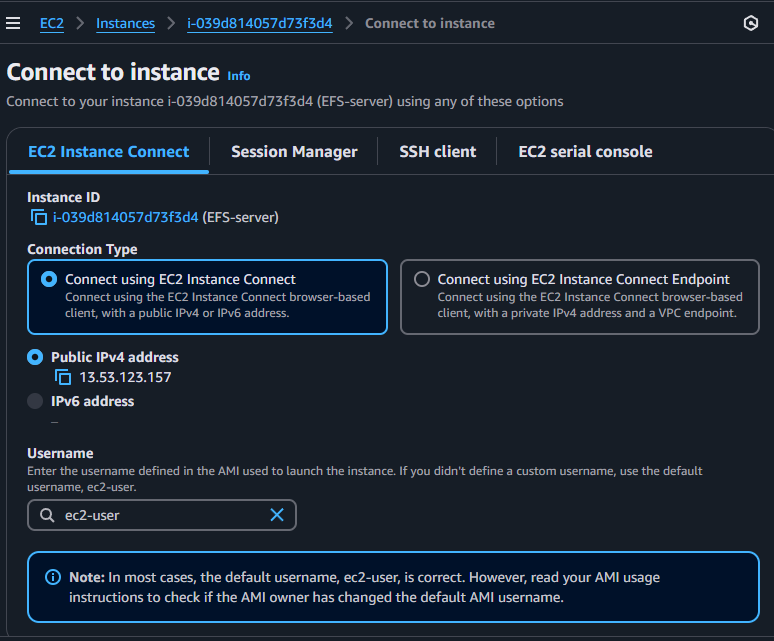
Scroll down and click on the connect button.
A terminal should open up. In the terminal type sudo dnf install -y amazon-efs-utils and press enter. You will see this on the terminal.
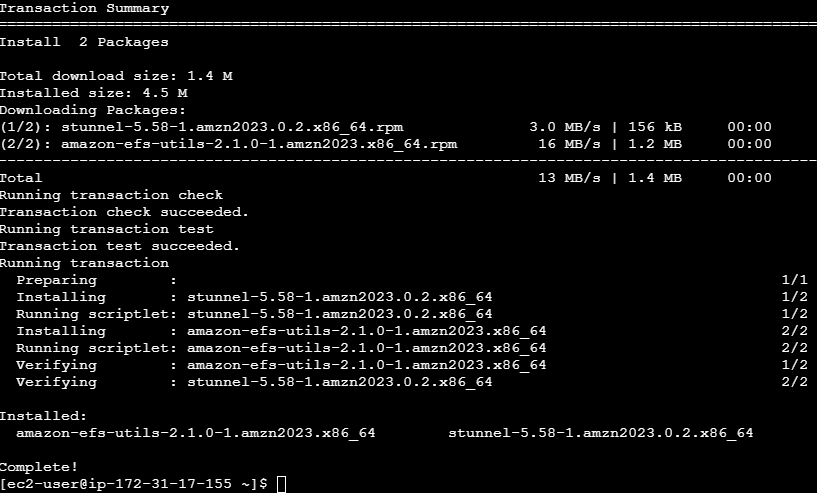
You will create a directory, use the sudo command so you will not have issues like me (lol). sudo mkdir efs (my directory name is efs).
Go back to your EFS file that you created in amazon, (remember to use the search bar).
Double click on the EFS you created, and click on attach.
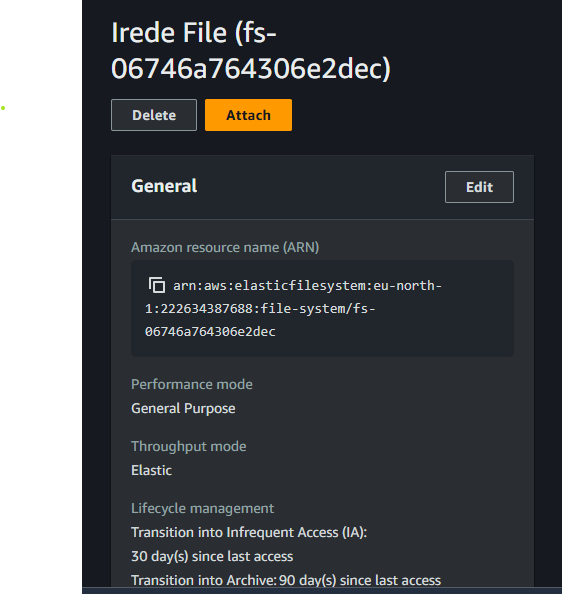
This pops up
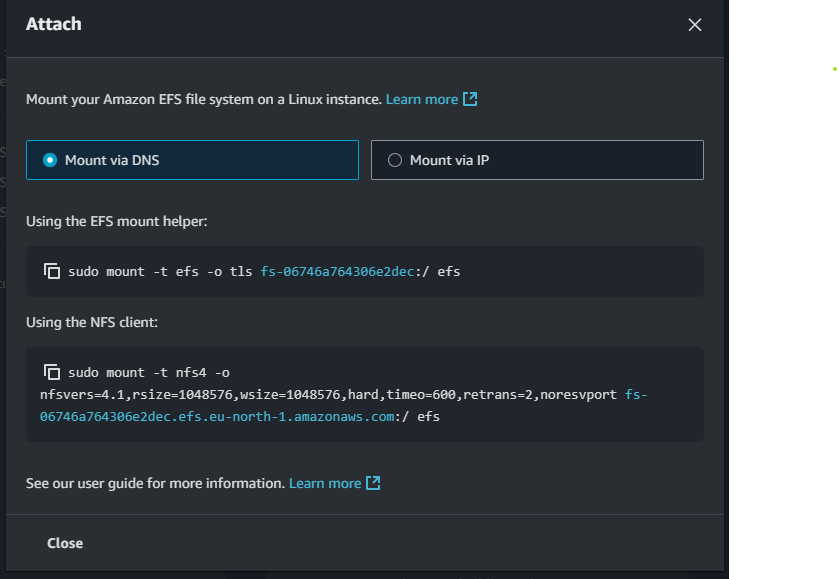
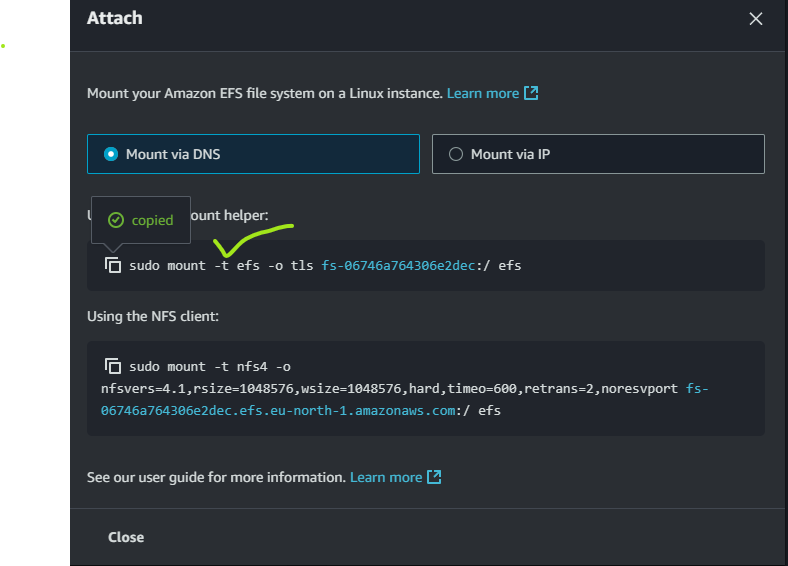
Copy the first sudo mount code there and go to paste it in the opened terminal.
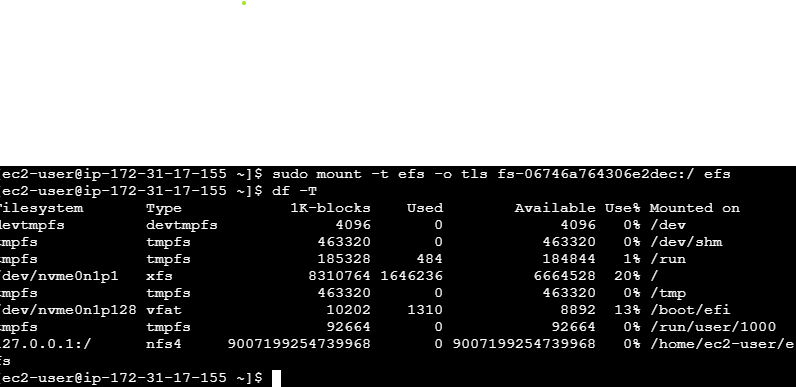
Once you paste it and press enter, t confirm it is mounted, type this command df -T, i did and it showed this.
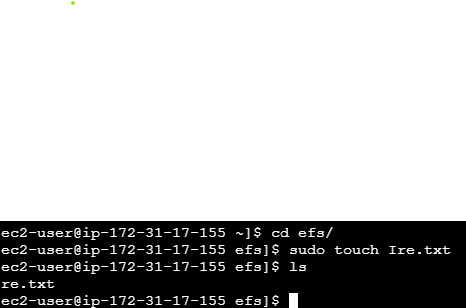
cd into the directory you created,
cd efs/
then create a file
sudo touch Ire.txt,
then list
- ls
The next thing is for us to create the second instance. Hope you remembered how we created it.
Once created, connect, and run this command again sudo dnf install -y amazon-efs-utils and press enter. You will see this on the terminal
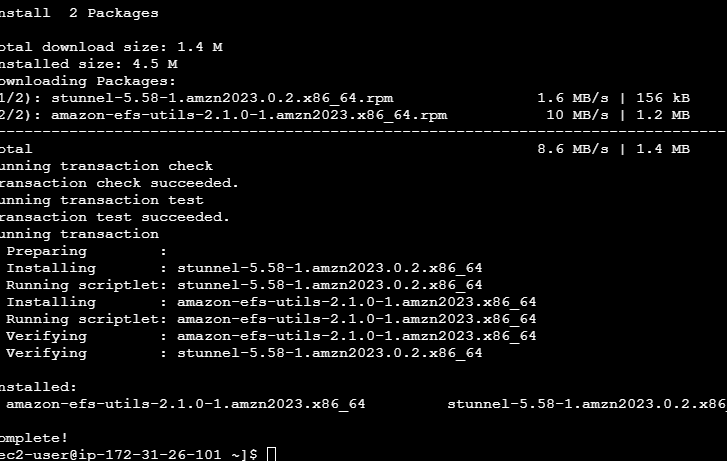
Create an efs directory again on this. sudo mkdir efs. It is for consistency to have the same mount point. It is to avoid confusion also. After this, you will go back to your EFS and click on attach, then copy to mount like we did earlier using our opened terminal that we launched.

Also enter this command sudo chown ec2-user efs/ to change ownership. You can check with df -T command to make sure you have it on this server too.
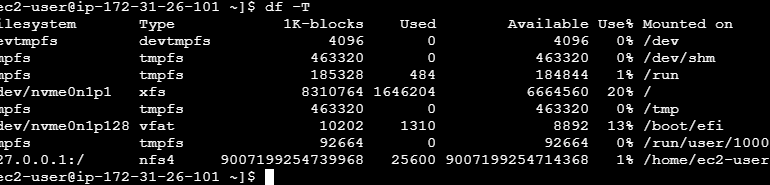
cd into the directory you created cd efs )enter).
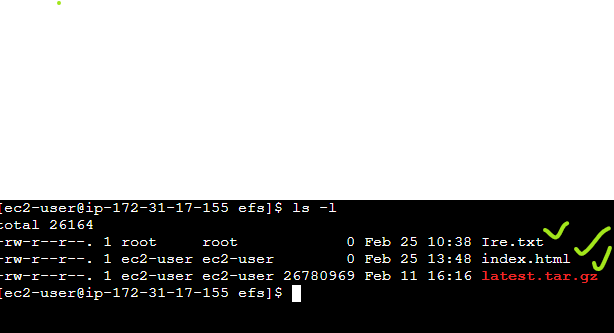
We are going to checl if the two instances are connected by running this command ls -l ( if they are connected, we will see the files we are created in the first instance here in the second one.
I tried it and it worked (I’m dancing).
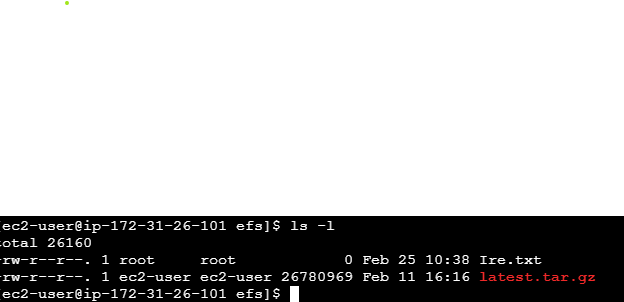
I can see the two files here.

I will create another file here and try to access it in the first instance.
touch index.html
i will then use ls -l to check for it
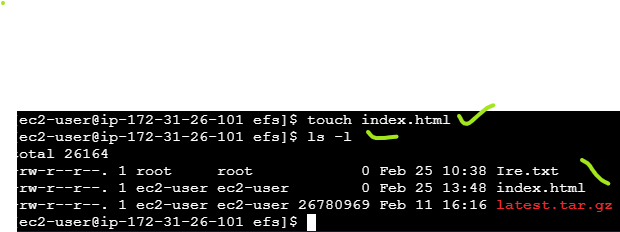
I can see it where i created it. Lets head to the first instance (terminal) and see if it is there.
I connected to the first instance, cd into my efs directory, ran ls -l command and voila I saw the three files there too.
It is quite interesting!
Thank you for reading.